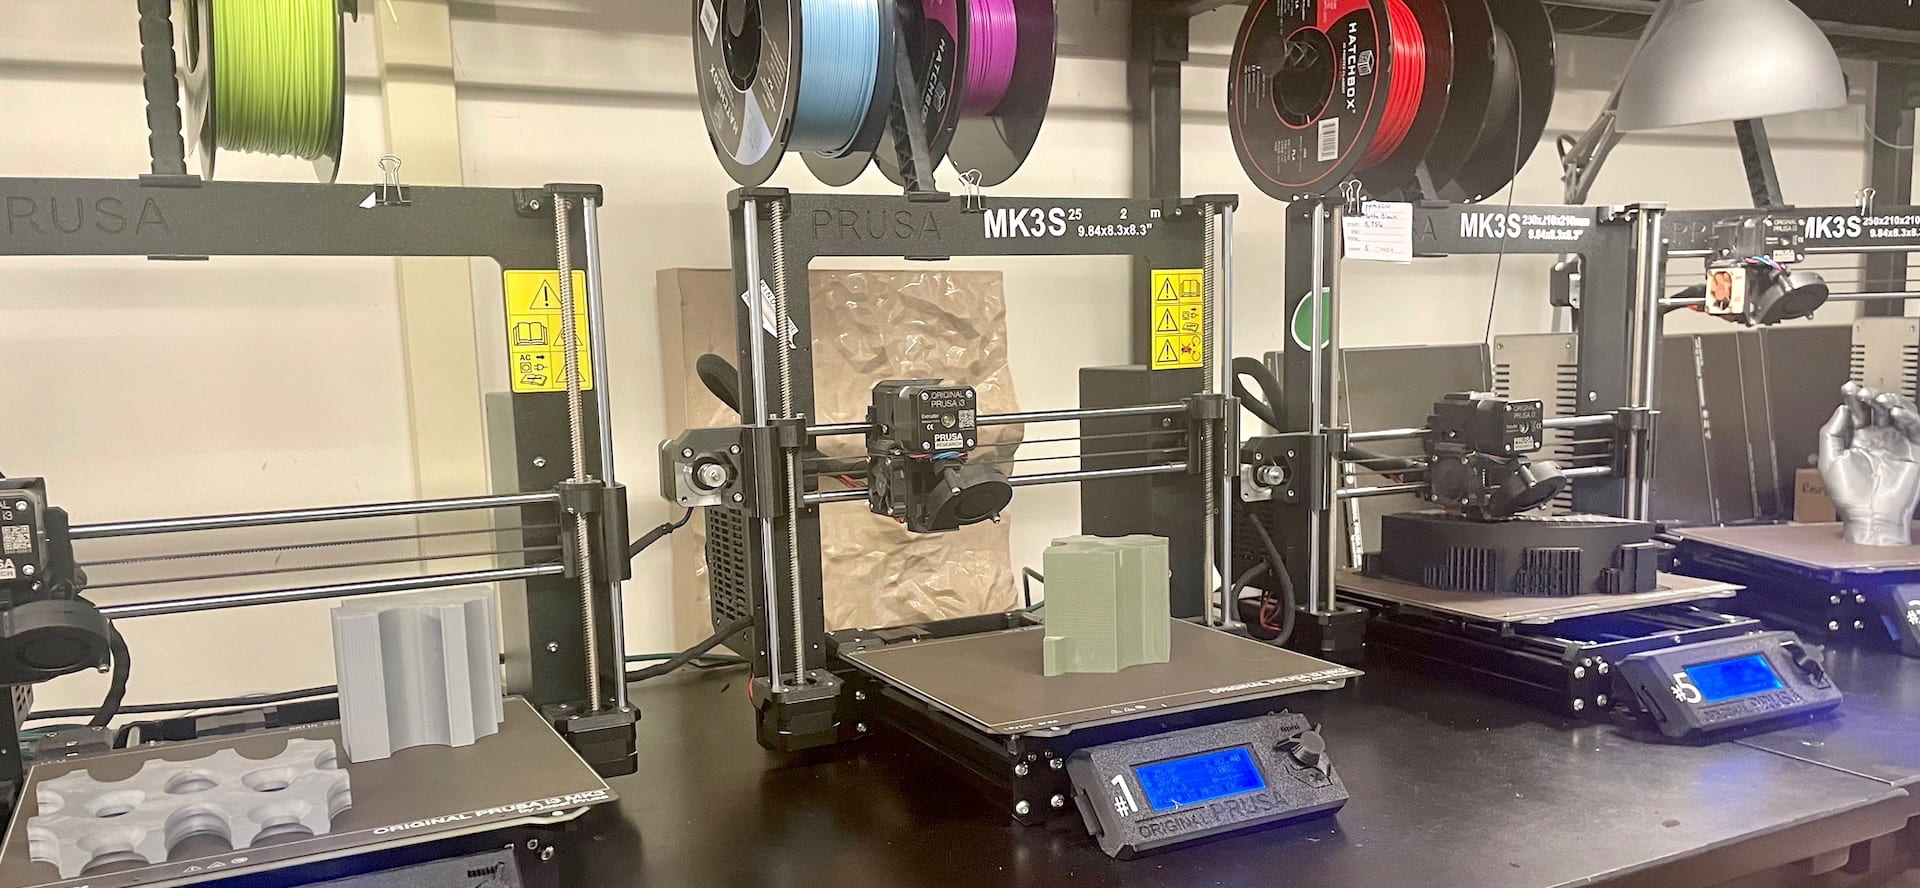
 We have 20 Prusa MK4S Printers and 1 Prusa SL1S Printer available in our farm!
WHEN STUDIO DEADLINES COME IT GETS BUSY! YOU CAN VIEW THE CURRENT PRINT QUEUE BELOW.
TO USE OUR PRUSA 3D PRINTERS:
Please submit a Prusa Project file (.3mf) to our print queue! Brief instructions are included below, or click here for detailed instructions!
You should prepare your print file in PrusaSlicer on your own computer or visit the DigiFab Lab for assistance.
Start your setup with our Template Project! Be sure to download the entire 3mf project file, then open with PrusaSlicer.
Import your own stl objects into the project. Adjust scale and position as needed.
Slice, and take a good look at the layers generated. Always make sure the first layer in particular looks good and complete!
Add support material if needed, but it’s always best to design and orient your object so that supports are not needed.
After slicing, you can view the estimated print time, material required, and cost. (The panel in the lower right).
If you’re happy with the result, save your entire Prusa Project for uploading. Name your file as follows: PSUuserid_projectname.filetype
Submit:
- Upload File to the DigiFab print queue using the Google Form link below.
- Be thorough when filling out the form so we have no additional questions when we are printing your project!
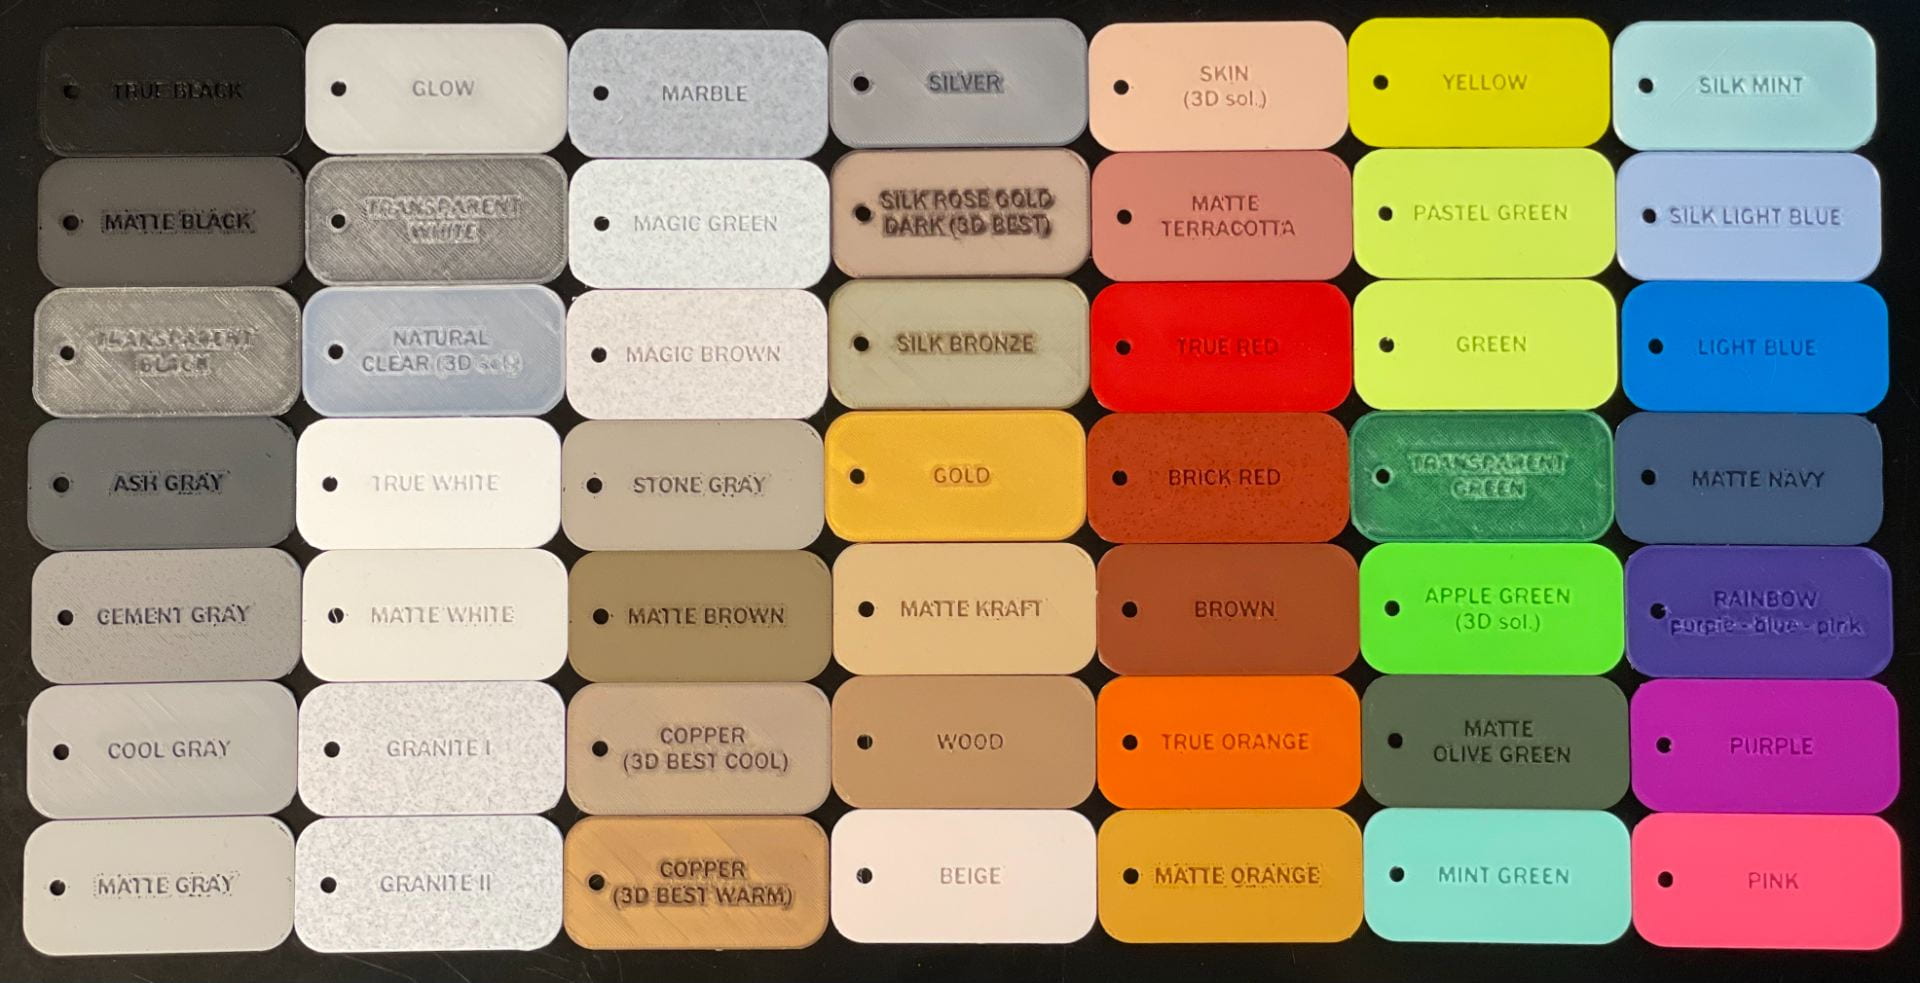
- Filament colors are shown below. Make sure we have enough of the color you want!
- Name your file as follows: PSUuserid_projectname.filetype
Example: dfl247_building1.3mf
- Check on your print status below. Come pick up your finished print in DigiFab. Payment can be made using LionCash.
SUBMIT YOUR 3D PRINT FILE HERE
If you need more assistance:
Bring your model model file down to the Digifab Lab during operating hours and the Lab Assistants can help you set up your file in Prusa Slicer on your laptop or one of our computers.
Filament
We stock a variety of colors and opacities of PLA filament. You just need to pay for the amount used by weight at $40 per Kg and we have a variety of PETG and Flex available when needed. You are also welcome to bring your own spool of filament and run a print in person.
- PLA
- PETG
- Flexible
SOME OF OUR PLA COLORS:

CURRENT INVENTORY:
If this is your first time using Prusa Slicer please follow our Detailed Instructions!
Brief Overview
1. Open or Install PrusaSlicer Software
- Download software from Prusa 3D Print website.
- Download Prusa Software
- For your first time, use the Wizard to set up the software- see our detailed instructions
2. File Setup
- Open a new file or use our template. Our template file has the print settings already defined for you.
- Add your file by dragging the file name from your file explorer or finder OR use the (+) symbol in Prusa Slicer
3. Make sure that your object is:
- Scaled properly.
- Fits on the plate.
- The plate is 9” L x8” W x 8” H MAXIMUM!
- Please leave room for a brim around your object! This is essential!!
- Lays flat on the plate.
- Ensure that your file is placed flat on the plate. Use the “Place on Face” tool to lay the object flat on the bed.
- Slice. Scroll though the sliced print layers to make sure everything will print properly. A complete and solid first layer is crucial!
- Add Supports if necessary.
- Examine the time and cost estimate.
4. Save and upload your file!
- Save your PrusaProject as a .3mf file.
After you have saved the project, please upload it to our Google Form in order to enter the queue!
Submit your 3D Print file (.3mf)
