Submit your 3D Print file (.stl, .obj, or PrusaProject)
INSTALL PRUSA PRINT SOFTWARE 2.9.1
1. INSTALL
- Download software from Prusa 3D Print website.
- Follow the Prompts after the software is downloaded.
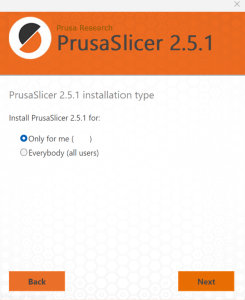
- Select “Next“
- Select “Only for me“
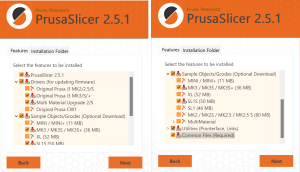
- On the next page, select the boxes that are shown below.
- PrusaSlicer 2.9.1
- Drivers
- Sample Objects/Gcodes (Optional)
- Utilities (Pronterface, Links)
- Common Files (Required)
- PRUSA SLICER is installed!
2. ONCE INSTALLED…
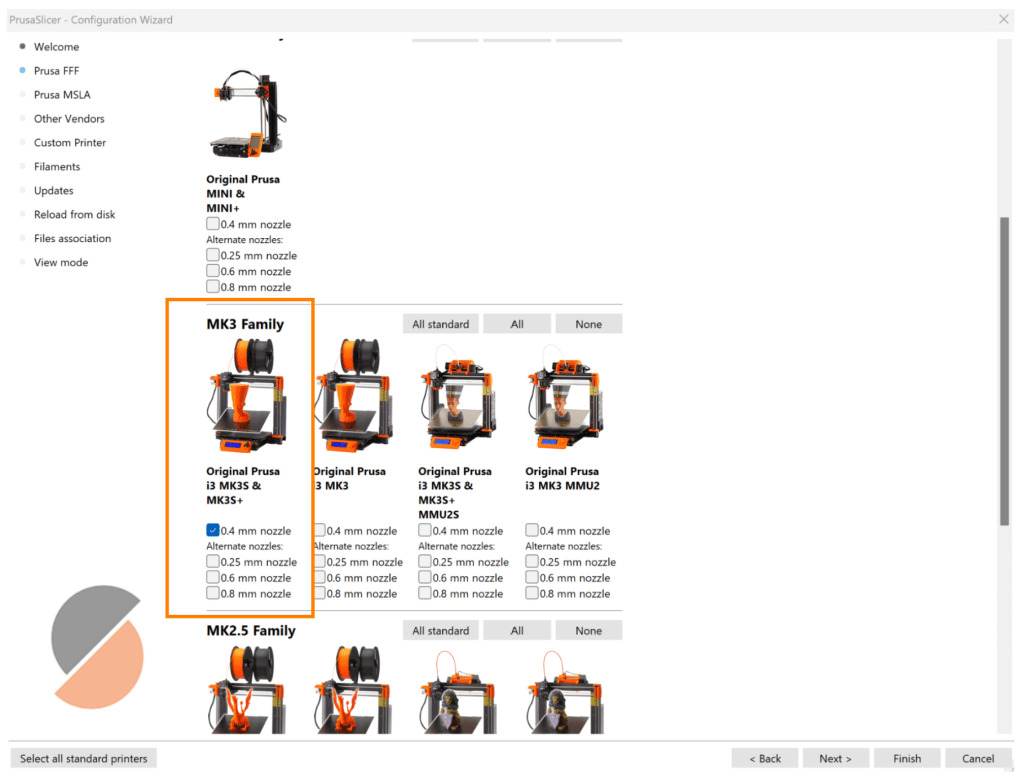
- When opening the software, it should open the following page. Our printers are MK4S with HF0.4 mm Nozzle. Make sure that you uncheck any printer that is not Original Prusa MK4S and select “Finish”
3. FILE SET UP
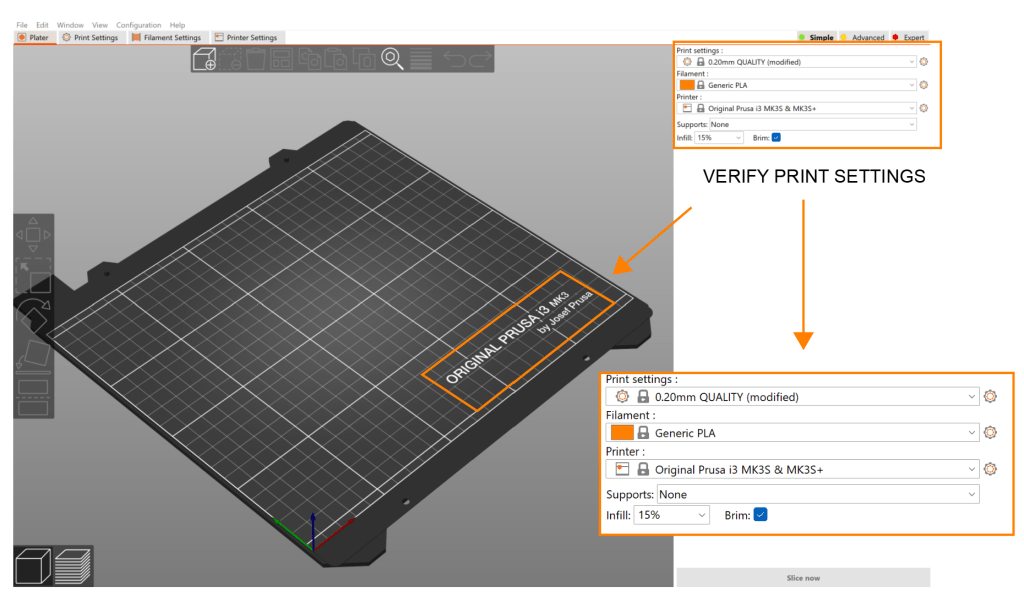
- The print setup should look like this. Please verify that your print settings match what is shown below (top right).
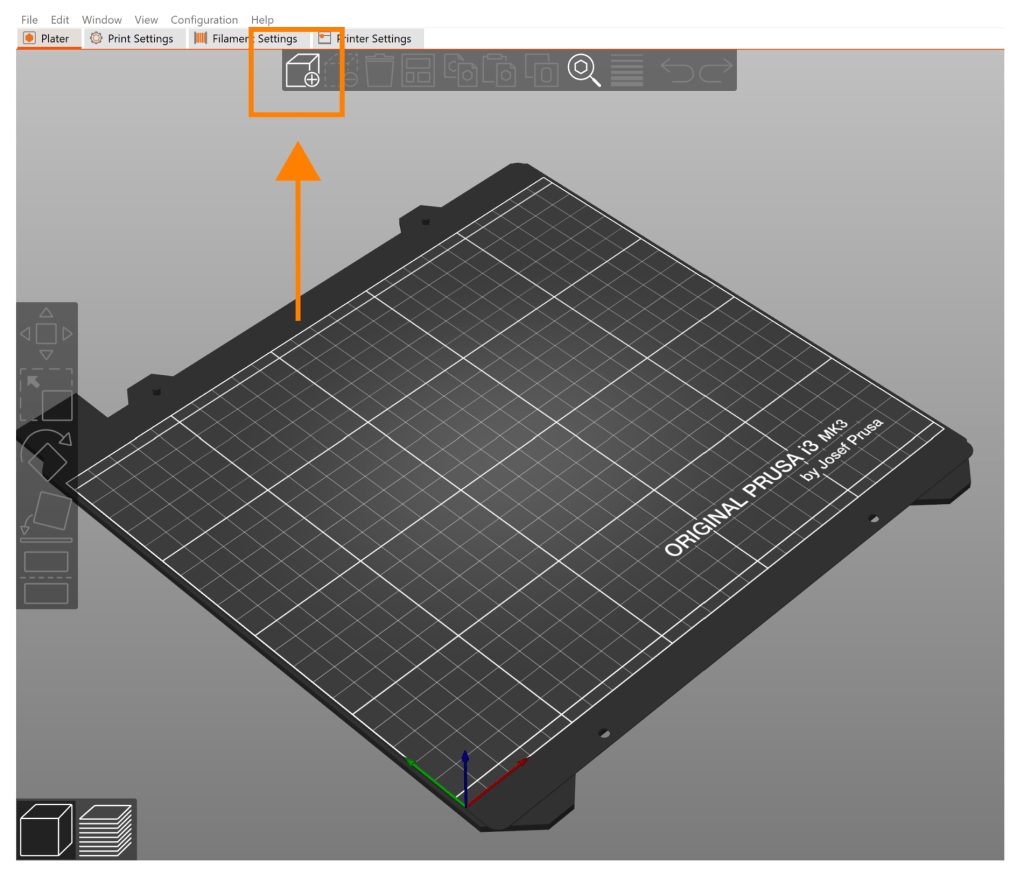
- Select the icon with the box and (+) to add your STL file to the platter.
4. MAKE SURE THAT YOUR OBJECT IS:
- Scaled properly.
- When a model appears to be scaled incorrectly upon uploading, it may be due to the fact that Prusa sometimes imports objects using millimeters. If prompted, press YES when asked if you want to “recalculate the dimensions of the object to inches”. If this does not work, try scaling the object by 2540 (mm to inches) or 1200 (mm to feet). See below.

- When a model appears to be scaled incorrectly upon uploading, it may be due to the fact that Prusa sometimes imports objects using millimeters. If prompted, press YES when asked if you want to “recalculate the dimensions of the object to inches”. If this does not work, try scaling the object by 2540 (mm to inches) or 1200 (mm to feet). See below.
- Fits on the plate.
- The plate is 9.84” L x8.3” W x 8.3” H.
- Lays flat on the plate.
- Ensure that your file is placed flat on the plate. Use the “Place on Face” tool to lay the object flat on the bed.

5. SAVE AND UPLOAD YOUR FILE!
- “Slice” the object to show how it will be 3D printed. You can press the button on the bottom right or the bottom left, as shown below.
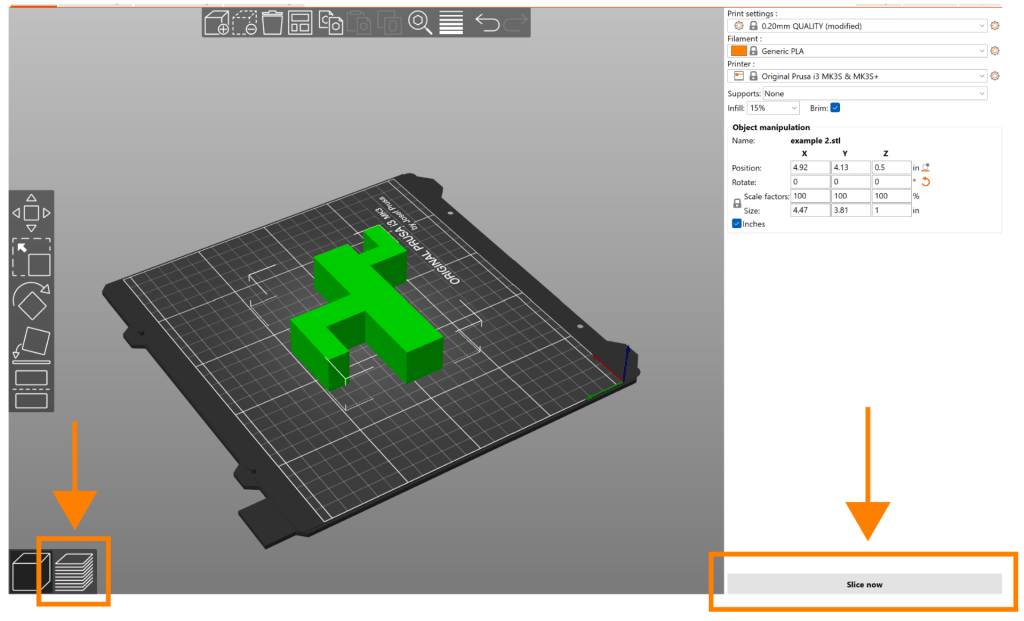
If everything looks okay, save the project by clicking “File” and then “Save Project As…“.

After you have saved the project, please upload it to our Google Form in order to enter the queue!
